
Angular Tutorial: Get JSON Data from API and Display in HTML

Like Vue and React, Angular remains one of the most popular JavaScript frameworks or libraries. With Angular, it’s easier to write reusable, easy to maintain, readable code; hence, Angular is known for speeding up development time.
In this article, you’ll learn how to get JSON data from an API and display in HTML, in quick time without having to write a lot of code.
You’ll display the JSON data in HTML by doing the following:
- Creating an app from scratch using Angular
- Using an HTTPClient
- Creating an image gallery app to fetch and display the image from an API
- Styling the app using Cascading Style Sheets
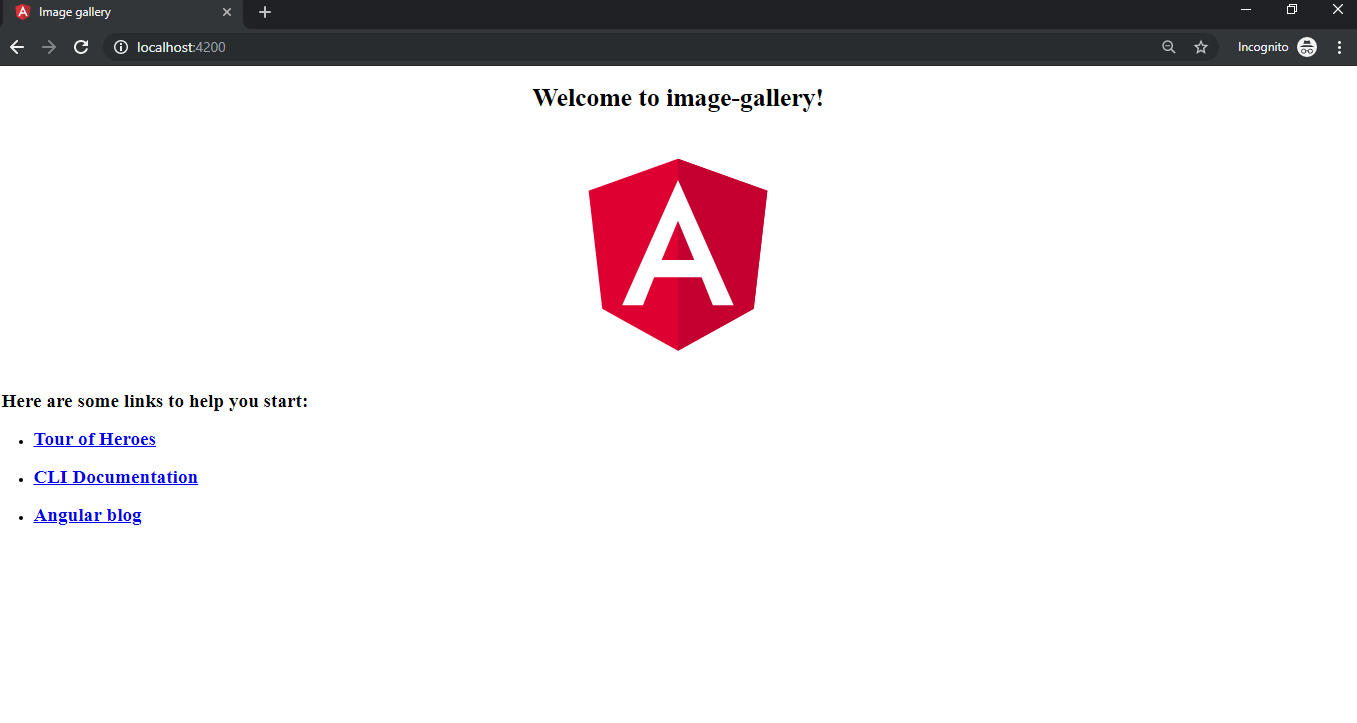
At the end of this article, you’ll have an HTML page that looks like this:

You’ve got work to do to have an HTML page similar to the one above, let’s get into the thick of things.
#1 Install Angular CLI
Before you can create an Angular Project, you need to have the Angular CLI installed. To install Angular, you’ll need NodeJS and NPM which can be downloaded and installed.
When you have NPM on your computer, you can proceed to install Angular CLI by typing the following into the terminal
npm install -g @angular/cliThis will download and install the latest Angular CLI to your system. Once installed, you can check your version by typing:
ng versionThis will confirm if it’s globally installed on your system and display the version installed (which should be the latest).
#2 Create an Angular Project Using Angular CLI
Now that Angular-CLI is installed, you can create a project by typing:
ng new image-galleryThis command creates an app called ‘image-gallery’ in your current working directory; when creating, you may be prompted with some message like:
> Would you like to install Angular routing?
> Which stylesheet format would you like to use?
Answer no to Angular routing and choose regular CSS as stylesheet format.
The app should now be created; so you can change directory to the image-gallery directory and run the app:
cd image-gallery
ng serve
You should see something like this

The URL for the app may vary on your machine, so open the provided URL on your browser and you’ll see Angular’s default homepage for the CLI.
#3 Setting up the HTTPClient
There are several ways to interact or get data from an API which includes using the infamous XMLHttpRequest request object or using the newer shiny version called the Fetch API.
Fortunately, Angular ships with an HTTPClient module which provides a wrapper around XMLHttpRequest for us. You can use the HTTPClient module to perform all HTTP verb requests like POST, GET, PUT, DELETE, etc.
It’s time to write some code: open your favorite text editor; you should have a structure similar to the one below:
Before you can use the HttpClient module, you’ll need to import it globally in the main application module. Open up src/app/app.module.ts and add the import statement and include it in the imports.
Here’s an example of doing such below:
import { BrowserModule } from '@angular/platform-browser';
import { NgModule } from '@angular/core';
import { HttpClientModule } from "@angular/common/http";

import { AppComponent } from './app.component';

@NgModule({
 declarations: [
   AppComponent
 ],
 imports: [
   BrowserModule,
   HttpClientModule
 ],
 providers: [],
 bootstrap: [AppComponent]
})
export class AppModule { }
Now you can begin using the HttpClient module in your project.
#4 Fetching Data from an API
In this tutorial, you’ll be fetching data from https://jsonplaceholder.typicode.com/photos?albumId=1; you’ll do this by sending a GET request to this endpoint and it will return a JSON payload containing images from a particular album. You can learn more about JSON here.
Here’s an example of the JSON payload you’ll receive:
[
  {
    "albumId": 1,
    "id": 1,
    "title": "accusamus beatae ad facilis cum similique qui sunt",
    "url": "https://via.placeholder.com/600/92c952",
    "thumbnailUrl": "https://via.placeholder.com/150/92c952"
  },
  {
    "albumId": 1,
    "id": 2,
    "title": "reprehenderit est deserunt velit ipsam",
    "url": "https://via.placeholder.com/600/771796",
    "thumbnailUrl": "https://via.placeholder.com/150/771796"
  },
 .
 .
//Truncated for brevity
]
You should open up the AppComponent src/app/app.component.ts and import the HttpClient and initialize it in the app constructor.
You can do this with the code below:
Next, you can create a method named getData that fetches data from the API URL.
import { Component } from '@angular/core';
import { HttpClient } from "@angular/common/http";

@Component({
 selector: 'app-root',
 templateUrl: './app.component.html',
 styleUrls: ['./app.component.css']
})

export class AppComponent {
 title = 'image-gallery';
 private data:any = []
 constructor(private http: HttpClient) {

 }

 getData(){
   const url ='https://jsonplaceholder.typicode.com/photos?albumId=1'
   this.http.get(url).subscribe((res)=>{
     this.data = res
     console.log(this.data)
   })
 }
}
The private data: any = [] creates an empty array where the images gotten from the API will be stored.
In the getData method, you passed the URL into the this.http.get() method, which sends a GET request to the URL.
The subscribe() method listens and waits for the response, then the response data, res, once available is saved in the data array created. You can also log the data in the Developer console to confirm if the data is present.
One way to fetch the data from the API is to create a button that calls the function getData function. To do this, open up the /src/app/app.component.html and replace everything in it with the code below:
<div style="text-align:center">
 <h1>
   Welcome!
 </h1>
 <button (click)="getData()">Fetch Data</button>
</div>
Now you’ll have a blank page with a Welcome! Heading and a “Fetch Data” button. On click of the button, you’ll see fifty images from the API logged in the console.
Great!

Now that it’s confirmed that the getData function works, it’s time to display the fetched images in HTML. Open up the src/app/app.component.html and add the code snippet below:
.<!--Truncated for brevity -->
<button (click)="getData()">Fetch Data</button>
</div>
<!--The code to display images -->
<div *ngFor="let image of data" style="text-align:center">
<h3>
   {{ image.title }}
 </h3>
 <img width="200" alt="thumbnail" [src]="image.thumbnailUrl">
</div>
A couple of things for you to take note of from the code above:
- The
*ngFordirects a loop through all the content in the data (image in this case) and renders all the item in the list. - The
{{ image.title }}uses string interpolation to bind the image title to the <h3> tag. - The image thumbnail URL is also bonded to the src tag of the image; more on template syntax and data binding.
When you click on the “Fetch Data” button now, you’ll have the images rendered on the screen.
Here’s an example:

#5 Styling the Images Gallery
Congratulations on displaying the images in HTML, but the gallery doesn’t look polished yet; it’s time to add some styling.
Open up src/app/app.component.html and replace the content with the code snippet below:
<div style="text-align:center">
 <h1>
   Welcome to our Image Gallery!
 </h1>
 <button (click)="getData()">Fetch Data</button>
</div>
<div class="gallery" *ngFor="let image of data">
 <a target="_blank" [href]="image.href">
 <img [src]="image.thumbnailUrl" width="300" height="200">
 </a>
 <div class="desc">{{image.title}}</div>
</div>
Also open up the src/app/app.component.css and add some CSS to spice it up:
div.gallery {
   margin: 10px;
   border: none;
   float: left;
   width: 200px;
   height: 300px;
  }
  div.gallery img {
   width: 100%;
   height: auto;
  }
  div.desc {
   padding: 5px;
   font-weight: 300;
   text-align: center;
   font-family: Verdana, Geneva, Tahoma, sans-serif
  }
Here’s what the image gallery should look like now:

#6 BONUS: Making the Image Gallery Load Automatically
Now that you have a nice gallery up and running, it’ll be amazing to have the images display automatically anytime you load the page, without having to click on the fetch data button.
One way to do this is to implement the ngOnInit lifecycle; this lifecycle hook gets triggered after the creation of the component, so you’ll use it to call the getData function once our page is getting in view.
To use ngOnInit, you need to implement an Interface for our AppComponent class; you can do this as seen below:
export class AppComponent implements OnInit {
//truncated for brevity
}
Next you invoke the getData function inside the ngOnInit and all the code in the AppComponent will look like this:
import { Component, OnInit } from '@angular/core';
import { HttpClient } from "@angular/common/http";

@Component({
 selector: 'app-root',
 templateUrl: './app.component.html',
 styleUrls: ['./app.component.css']
})

export class AppComponent implements OnInit {
 title = 'image-gallery';
 private data: any = []
 constructor(private http: HttpClient) {

 }

 getData(){
   const url ='https://jsonplaceholder.typicode.com/photos?albumId=1'
   this.http.get(url).subscribe((res)=>{
     this.data = res
     console.log(this.data)

   })
 }

 ngOnInit() {
   this.getData()
 }
}
Works perfectly, so you can remove the button created in the src/app/app.component.html and the Image Gallery app will load the images automatically henceforth.